How to Insert Image in HTML from Folder
Inserting images in an HTML website is an extremely easy thing that you can learn in just 5 minutes. This tutorial will teach you how to insert an image in HTML from a folder step by step.
You can make your web pages visually captivating by adding images directly from your folder. Let’s see how.
Prerequisites:
You need just two things:
- A text editor to write your HTML code.
- And a browser to open HTML documents.
How to Insert an Image in HTML from Folder
To insert an image in HTML from a folder on your computer, you can follow the steps given below:
Step 1: Create a Folder for Your HTML Project
An HTML project folder is where you will store all your HTML files and images. After creating a folder, just place your html file and the images that you want to insert in your HTML webpage.
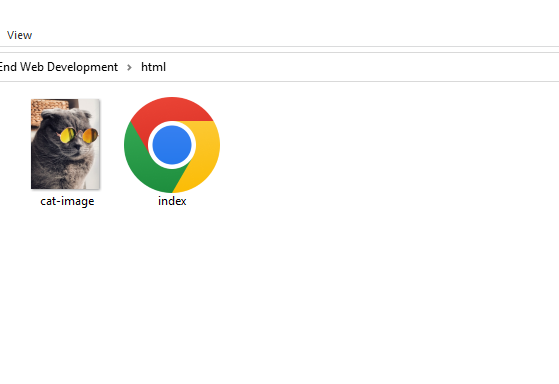
As you can see in the above image, before inserting the image, I placed the image in the same folder where my HTML file is placed.
Step 2: Write the HTML Code
Open the HTML file in your text editor and write or paste the below code where you want to insert the image in HTML.
Code syntax to insert image in HTML from folder:
→ index.html
<img src="folder/image-file-name.file-extension" alt="alternative text for image">
Now, just look at the src attribute value, all you have to do is, replace the image file name with your real image file name and extension with the extension. Plus change the alt text (optional).
Code Explanation:
The HTML <img> tag is used to insert images in HTML from the folder. There are two essential attributes that we use inside <img> tag.
- The first attribute that we use inside the <img> tag, is the src attribute to specify the path of the image. The path or location of the image can be offline which means the image is located on your pc or the image can be online on the internet. In the case of offline you will specify the path where the image is located on your pc. If it’s online then simply specify the URL of the image.
- And second, we use the alt attribute to specify a text for the image. The alt attribute stands for an alternative text that shows when the image is not found on your system or remote place.
Tip: If you don’t know anything about HTML attributes and tags, then you should check this tutorial about HTML Tags vs Elements vs Attributes.
The below code example will add a cat image in HTML from the folder.
→ index.html
<img src="cat-image.jpg" alt="cat image">
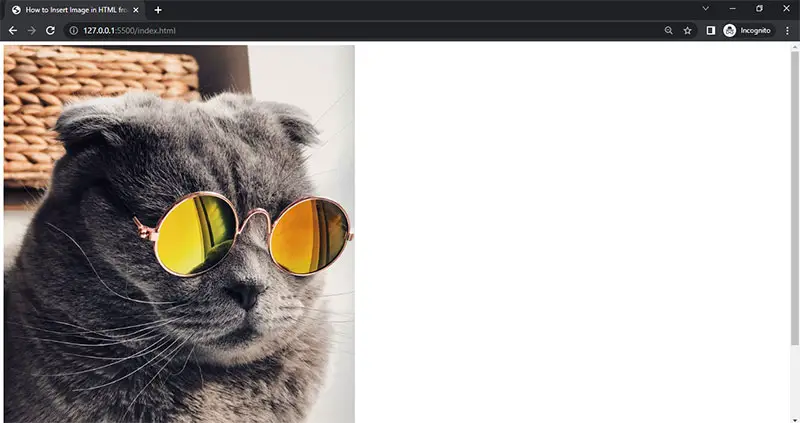
Step 3: Test Your Image in the Browser
Now, if you open the HTML code file in your browser then you will see the image is inserted.
Best Practices to Insert an Image in HTML
- Check the image format before using it.
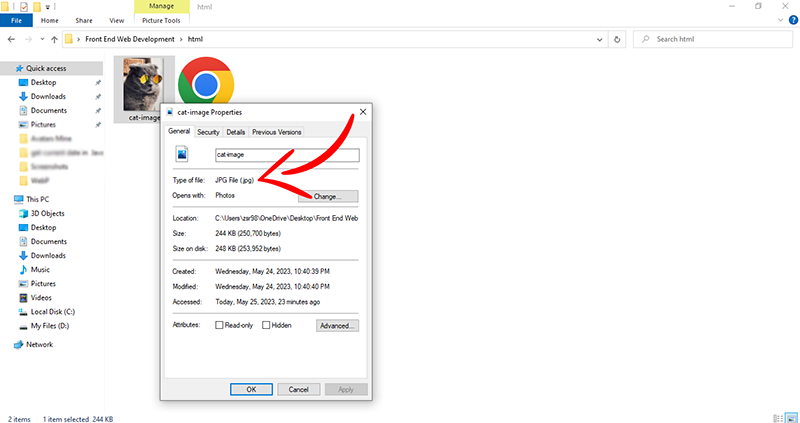
I used “cat-image.jpg” for the source attribute in the above example. The .jpg is the file extension of the image. Your image can be in any other format like .png, .webp, etc. In that case, you will specify that image format. To check your image file format, simply right-click on the image and click properties as shown below.
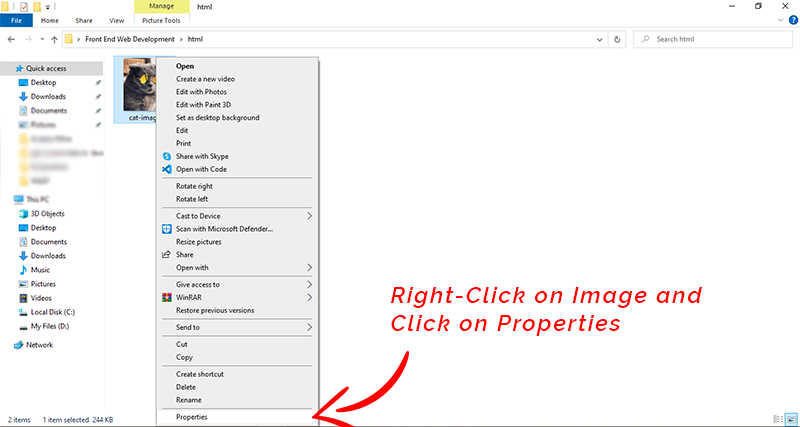
Then, as you can see here below is the image format that you should check first before adding the image in HTML.
2. Crop the image and reduce the image size before using it. This will improve load time and speed up your site.
This is because large-size images take a long time to load. You can reduce image size without losing image quality by using a simple tool like TinyPNG.
3. Place your images in the same folder where your HTML source code files are placed.
Do this if you have a small number of images. But if you have a large number of images then you should make a separate folder for images where you will place all your images. In that case, you will also specify the folder in the src attribute like this below.
→ index.html
<img src="folder-name/image-name.extension" alt="">
Note: The images folder should be in the same folder where your source code files are located. Otherwise above code will not work.
For more details, you should check this tutorial about HTML file paths.
Also, read how to add images in table cells using HTML.
That’s it. This is how to insert an image in HTML from the folder. If you have questions related to this tutorial then feel free to ask in the comments section below.
Also, don’t forget to share this tutorial with your friends!
