Create an HTML Button with a Link (4 Methods)
In HTML, a button with a link allows users to navigate from one page to another on the web. In this tutorial, you’ll learn 4 different methods to create HTML buttons with links.
How to Create an HTML Button with a Link
Following are the different methods to create an HTML button with a link:
- Button using anchor <a> tag with CSS
- Using <button> and <a> elements
- HTML Button with a Link using JavaScript
- Button using <form> and <button> elements
Let’s talk about each method one by one.
1: Button using anchor <a> tag with CSS
Basically, an HTML anchor tag is used to add links to a webpage. But we can use CSS to convert it to a button with a link by adding some styles.
In the following, I created a simple link using the basic syntax:
<a href="https://www.webcodzing.com/"> WebCodzing </a>
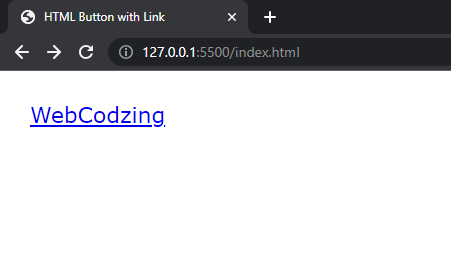
The above link contains a text which is “WebCodzing” and I specified the path of the link using the href attribute. It looks like this in the browser by default (no styling):
To style this as an HTML button with a link, I will use CSS code. The following CSS styles will make the link show as a button:
 a{
    text-decoration: none;
    background-color: #2C74B3;
    color: #ffffff;
    padding: 10px 30px;
    border-radius: 3px;
}
Code Explanation:
- First, I use a an element selector and used curly braces to define some CSS properties.
- Then, I used the text-decoration property to remove the underline from the link.
- After that, I applied the background-color property to give blue background to make it look like a button.
- The CSS color property will change the color of the text from blue which default to white.
- I used padding to add some spacing around the text and make the button look bigger.
- In the last, the border-radius property makes the button corners a little bit round.
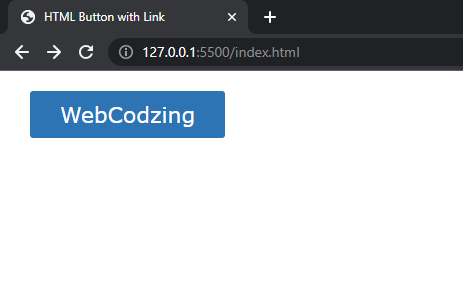
Now, you can see the below output showing the desired result:
More Customizations:
- You can open the link in a new tab when clicked using the attribute target=”_black”. To do this, I will make a small change to just the HTML code as shown below.
<a href="https://www.webcodzing.com/" target="_blank"> WebCodzing </a>
2. You can define and use HTML classes to apply the CSS styling to a specific link.
Also, if you want this button to turn into a circle, check this tutorial about circle buttons CSS.
Now! Let’s see go ahead to the next method.
2: HTML Button with Link using <button> and <a> elements
Another method to create a button with a link is by combining <button> and <a> elements. The <button> element is used to define a button on a webpage while the <a> element defines a link.
But if we put <button> element inside the <a> element then it will work as a link button. Because everything inside <a> anchor tags act as a link whether it’s a text, an image, a heading, an HTML element, or anything else.
The following code demonstrates how to use these elements to make an HTML button with a link:
 <a href="https://www.webcodzing.com/" target="_blank">
    <button>WebCodzing</button>
</a>
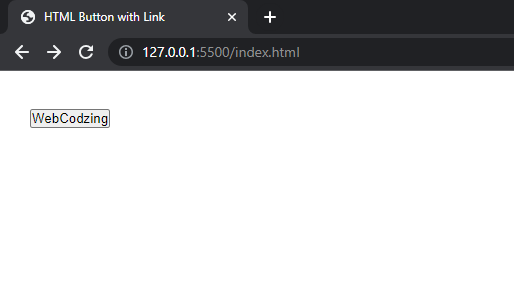
In the above code, I utilized a pair of anchor tags and put the <button> element with the text “WebCodzing” inside it. The output will look like this below.
Furthermore, you can add some CSS to make it look different.
If you click the button it will act as a link. But this is not the method that I will recommend to you. I will talk about it at the end of this tutorial.
Now, let’s go ahead to the next method.
3: Button with a Link using JavaScript
We can take advantage of the JavaScript window.location.href property to create an HTML button with a link. However, JavaScript window.location.href property is used to get the current URL (Uniform Resource Locator) of the webpage.
But we can also specify a custom URL using this property. In that case, if we create an <button> element and attach a click event to it using onclick attribute then the button will act as a link. Let’s see the code how.
The following code creates a button with text inside it and uses the onclick attribute to execute JavaScript code if the button is clicked by the user.
 <!-- HTML Button with Link using JavaScript -->
<button onclick="window.location.href = 'https://www.webcodzing.com/' ">
    WebCodzing
</button>
The output is shown below:
Alternatively, you can also use location.href which is a short form of this property. The following code will return the same result as above.
 <button onclick="location.href = 'https://www.webcodzing.com/' ">
    WebCodzing
</button>
Moreover, we also use this JavaScript method to extract the information from a URL. And there is also other benefits of using this but as we’re focusing on creating HTML buttons with links, that information will be irrelevant to this topic.
4: Button using <form> and <button> elements
Another alternative method to create an HTML button with a link is by using <form> and <button> elements. Basically, we use a form element to add a form in HTML but we can also take advantage of the form’s action attribute to create a button with a link.
What you have to do is simply put the <button> element inside <form> and use the action attribute to specify the path where the user will go after clicking the button. See the following code example.
 <form action="https://www.webcodzing.com/">
    <button type="submit"> Click Me </button>
</form>
The code output:
The same results will be achieved if you use <input type=”submit”> element inside the form, as shown in the following code.
 <form action="https://www.webcodzing.com/">
    <input type="submit" value="Click Me">
</form>
However, you can use the following CSS code to style the button.
 button, input{
    background-color: black;
    color: #ffffff;
    border: none;
    padding: 10px 20px;
    font-size: 22px;
    cursor: pointer;
}
Output:
The place where the user goes after clicking the button can be on the page located on the same website or another website with a different page on the internet. Both depend on the URL.
If the links are on the same website then we call them internal links. While if the links are located on a different website, we call them external links.
That’s all.
Now, you know how to create an HTML button with a link. If you have questions then feel free to ask in the comments section given below.
More Tutorials Related to Buttons:
Also, don’t forget to help others by sharing this tutorial!
