HTML Tables: Complete with Examples
In this tutorial, you will learn how to create tables in the HTML webpage in detail with a lot of ease. You will learn HTML table examples with a complete explanation. So let’s start.
What are HTML Tables?
A table is an arrangement of data in rows and columns. In simple words, tables allow web developers to arrange data in the form of rows and columns. We use tables to store and display data in a structured format.
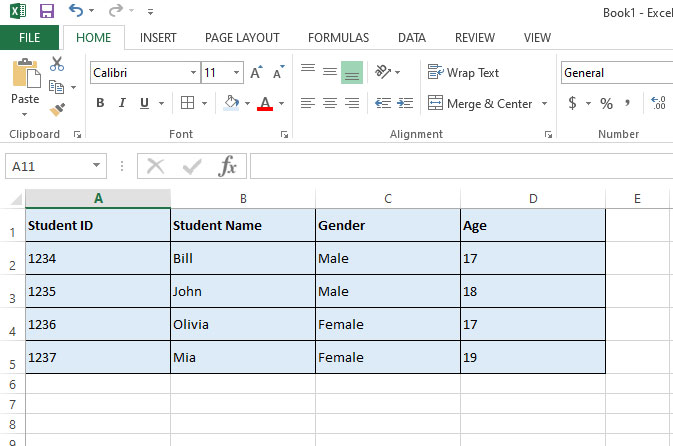
Let’s take an example of Microsoft excel.
For example, Someone gave you the assignment to enter students’ detail in Microsoft Excel. To solve the assignment, you will go and open your excel software. Let’s suppose you will create four headings Student ID, Student Name, Gender, and Age. And you will enter students’ detail in them.
The data will store in the form of rows and columns. As you can see in the excel image below.
So, this is a table example. Now we want to create this table on our website. So how to do this? Let’s go to the main part of this tutorial.
How to Create a Table on HTML Webpage
Let’s suppose you’re making an HTML webpage for your school website project and you want to create a table of students to arrange data in rows and columns. You want to store a student id, student’s name, father’s name, and age in that table.
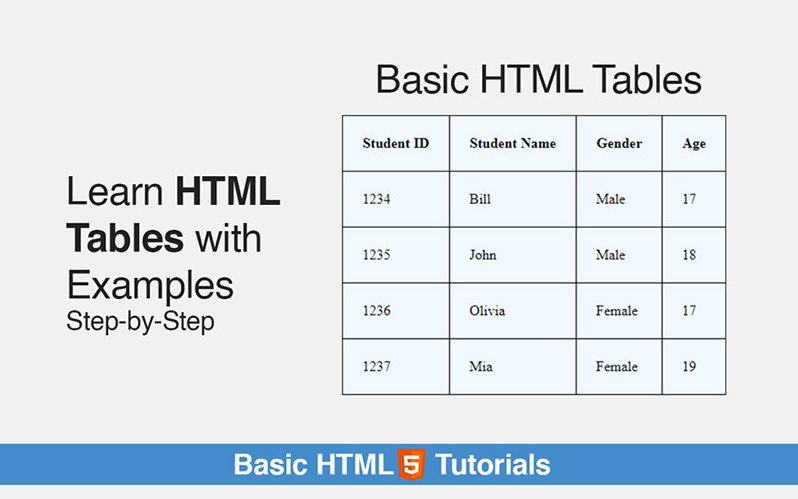
HTML Table Example
See this table in the image below. This is the table that will create for our website.

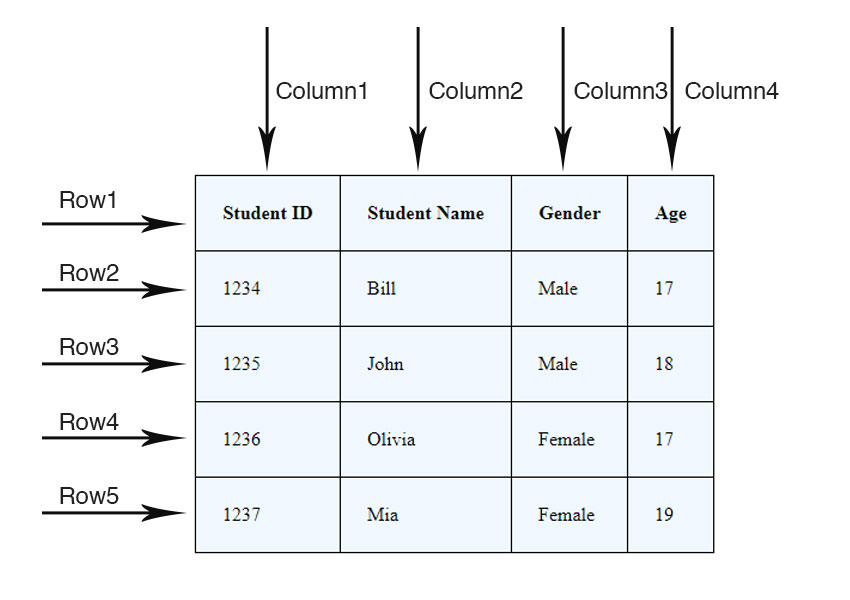
So, how we can create this table using HTML code? Don’t worry, it’s very simple. Remember that the table data is stored in the form of rows and columns. Just like in the image below.
So, let’s see how to code in a text editor and make a table in a webpage using HTML. Below are the HTML code snippets that you will have to enter in your HTML document inside the body tags.
HTML Table Code
<table>
	<tr>
		<th>Student ID</th>
		<th>Student Name</th>
		<th>Gender</th>
		<th>Age</th>
	</tr>
	<tr>
		<td>1234</td>
		<td>Bill</td>
		<td>Male</td>
		<td>17</td>
	</tr>
	<tr>
		<td>1235</td>
		<td>John</td>
		<td>Male</td>
		<td>18</td>
	</tr>
	<tr>
		<td>1236</td>
		<td>Olivia</td>
		<td>Female</td>
		<td>17</td>
	</tr>
	<tr>
		<td>1237</td>
		<td>Mia</td>
		<td>Female</td>
		<td>19</td>
	</tr>
</table>
Code Explanation of HTML Tables
See the steps below:
- We use table elements to create a table in HTML.
<table> … </table>
2. In between the table element, we create rows using <tr> tags, and between rows, we enter <td> tags to enter our table data. First, we create our table headings that are surrounded by <th> tags. As in the code below.
<table>
        <tr>
     	        <th> Student ID </th>
     	        <th>Student Name</th>
     	        <th>Gender</th>
	        <th>Age</th>
        </tr>
   	<tr>
		<td>1234</td>
		<td>Bill</td>
		<td>Male</td>
		<td>17</td>
	</tr>
	<tr>
		<td>1235</td>
		<td>John</td>
		<td>Male</td>
		<td>18</td>
	</tr>
<table>
And here are some CSS styles below to format the table.
<style>
	table{
		background-color: aliceblue;
	}
	table,tr,th,td{
		padding: 22px;
		border: 1px solid black;
		border-collapse: collapse;
	}
</style>
CSS Code Explanation
- Everything goes in between <style> tags.
- Then, I use element selectors to select the element and define some properties.
- background color: property to define the background color of the table.
- padding property: to give increased space around the text.
- border property: By default, there was no border. So, I gave a 1-pixel border to apply the table border in HTML.
- border-collapse property: It is very important because without this property your border will have double lines.
If you don’t know CSS. You can check our CSS tutorials for more details.
So, you have learned how to create tables using HTML on a website. Keep practicing and the best way to learn to code is to do it and practice. If you have any questions related to this then leave a comment below.
